
With the panels finally on site, it was time to get down to their actual installation. First, I needed to mock up the inverter/panel position to derive a measurement template. As it turned out, the inverters could be mounted directly below and at the midpoint of each panel, and the Engage cable coupler could be mounted directly above it. Taking the renusol inter-panel connectors into account, this made for 39″ between the bottoms of each panel, 25″ from the bottom of the panel to the inverter center, and 28″ from the bottom of the panel to the engage connector center. You can see the alignment in the pics below:
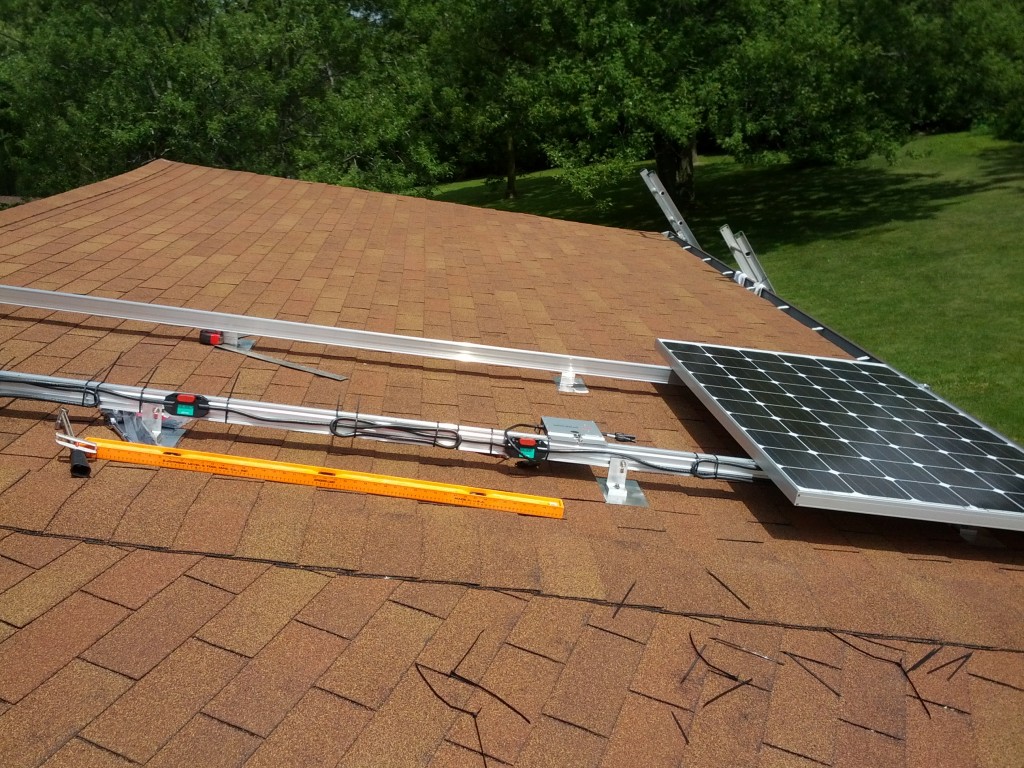
After I had the measurements, I marked them all out on the west rail with a blue sharpie. Then it was time to actually begin the assembly process itself.
My first installation step was to run the enagage trunk cable along the outside of the rail with connectors facing west. The idea behind this was that the 120v connector from each inverter would be run over the top of the west rail and left loose, to be connected up when the rest of the 120v wiring to the dual meter base is complete. The cable connectors’ west facing orientation would make them easily accessible once everything was ready.
Unfortunately, the cable was also incorrectly ordered for landscape, not portrait orientation so the distance between connectors was 67″ instead of 40″. This is why you can see that I’ve looped and wire-tied the excess to the rail. The wire-ties themselves were UV resistant and designed for outdoor use.
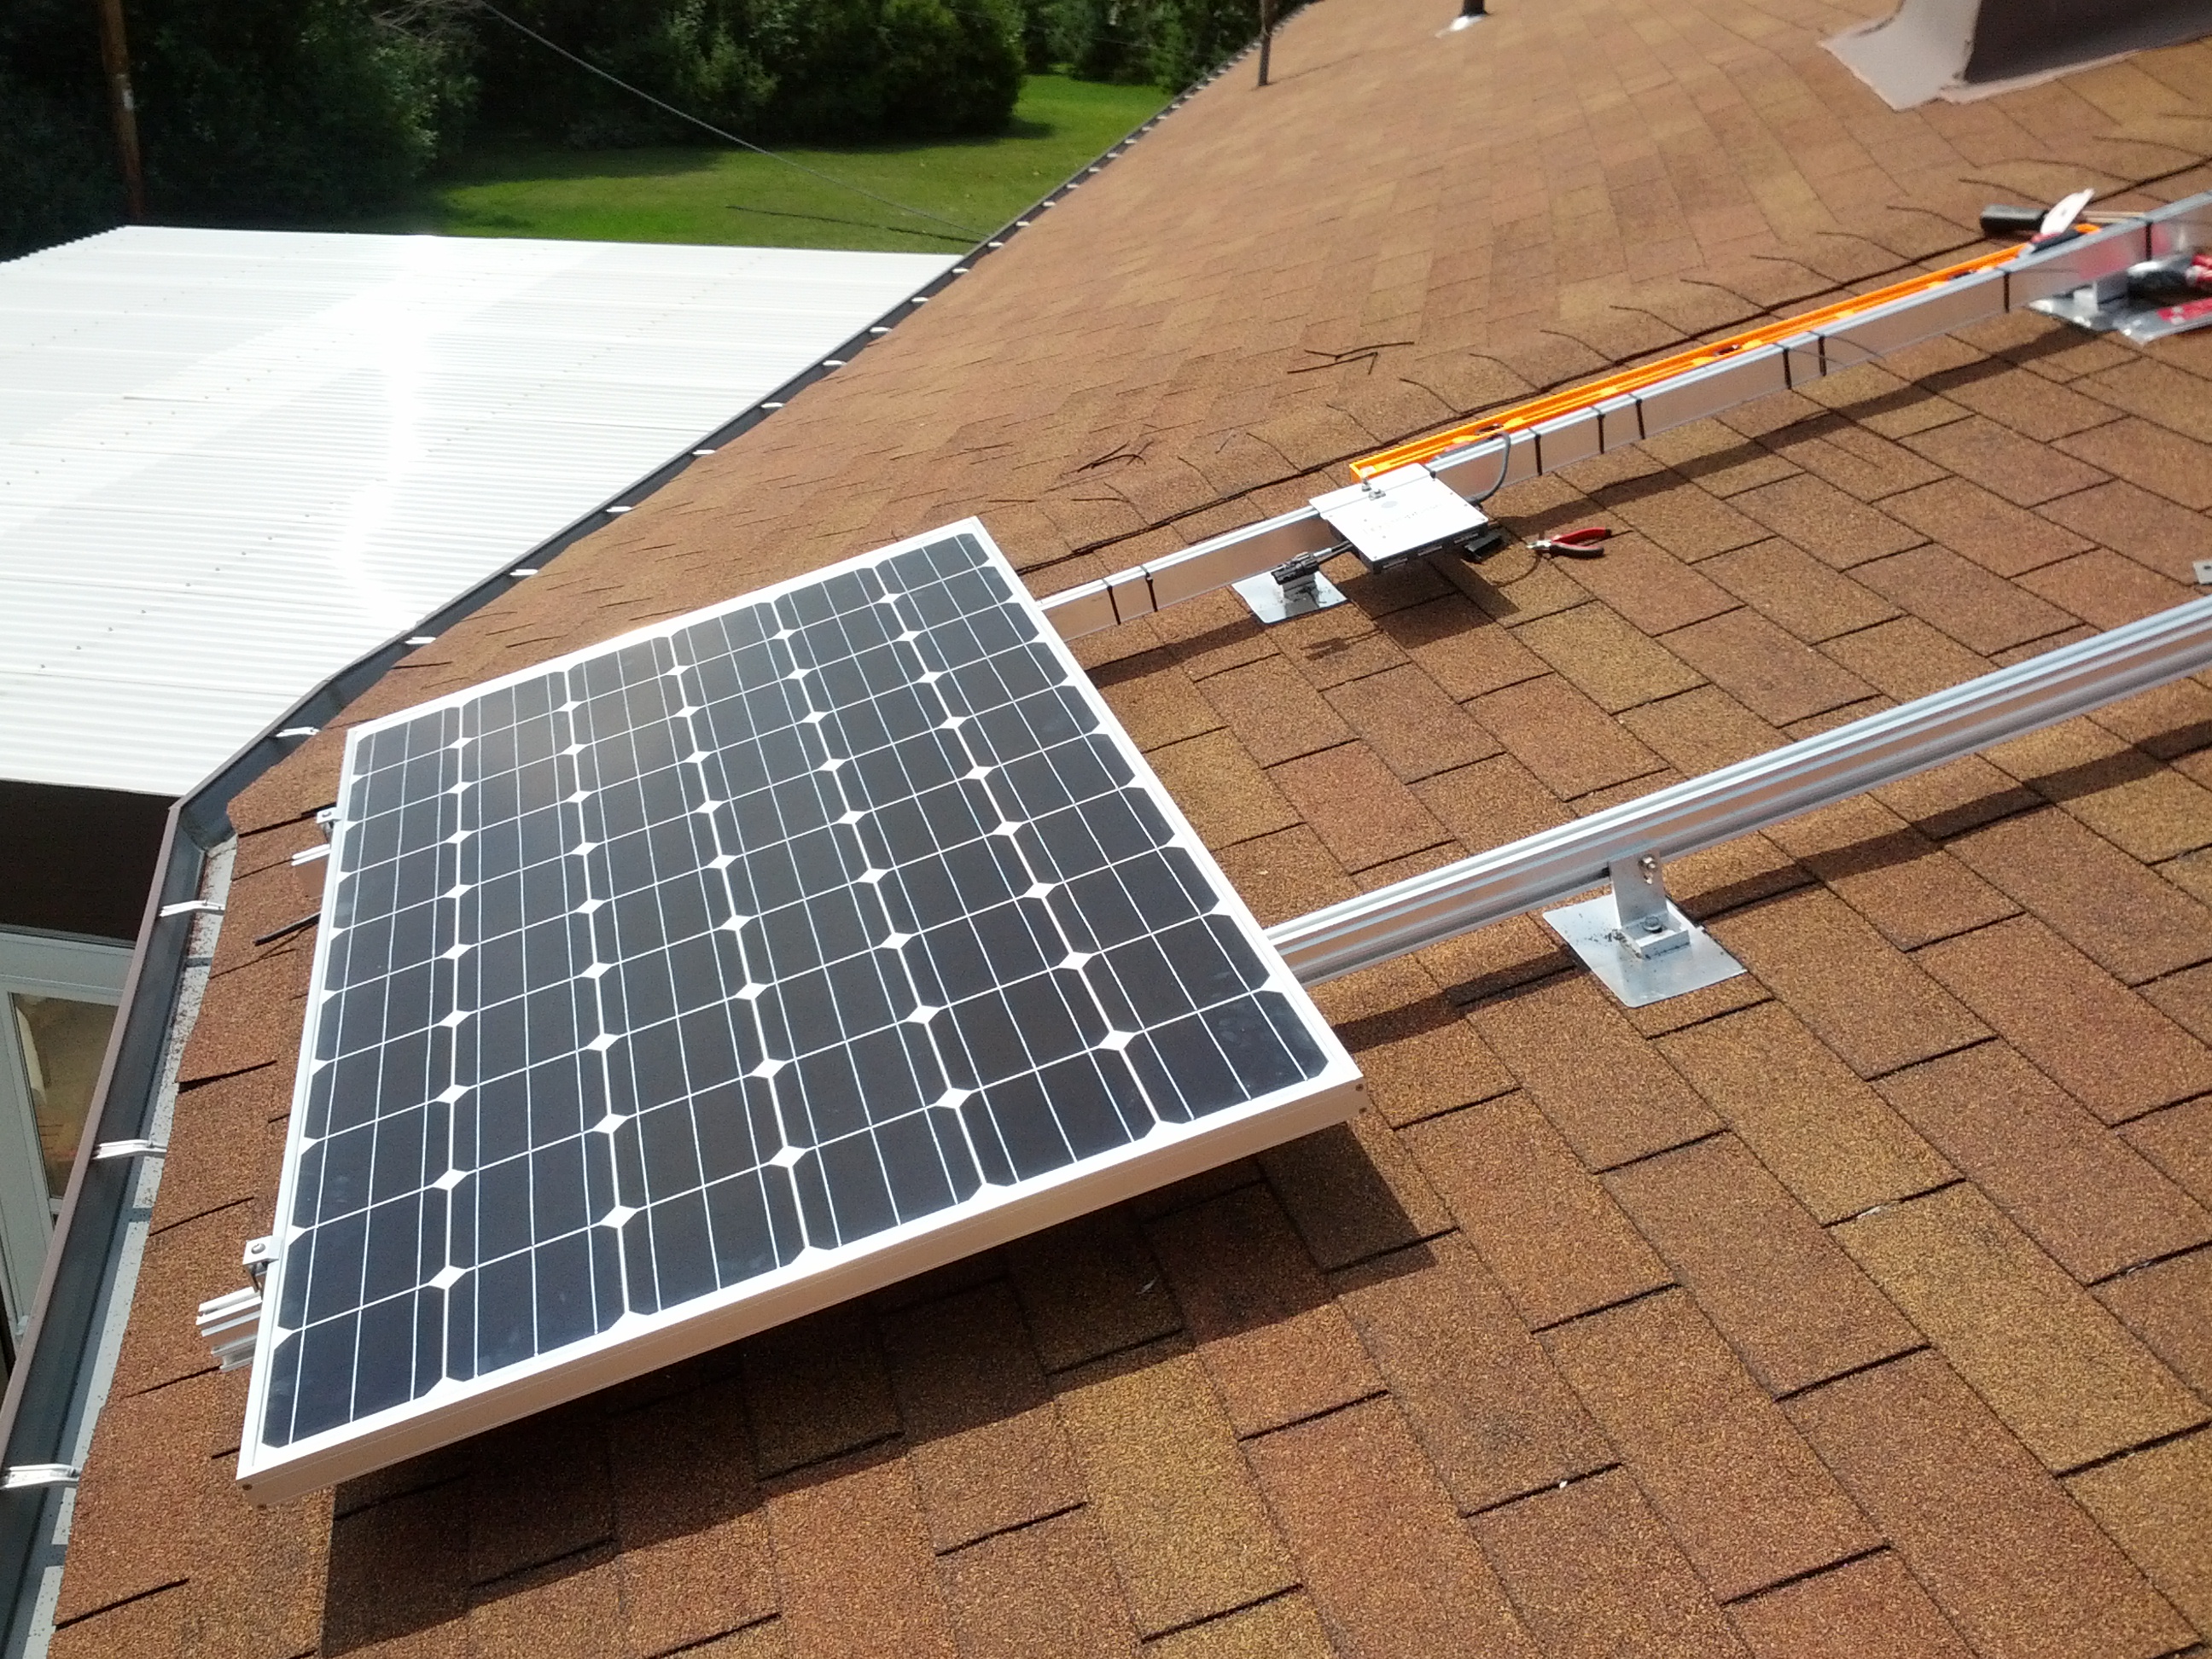
The first panel took the longest because it needed to be correctly aligned to perpendicular and centered on the rails. After that, it went pretty fast because each subsequent panel was simply aligned to the panel underneath. Essentially the process became:
- Mount the inverter using a WEEB-CCR grounding washer between it and the rail and torque to 12ft lbs.
- Run the panel up to the roof and lay on the rails. We used two ladders for this so that Angel and I could go up together with the panel suspended between us.
- Connect up the panel’s DC cables to the DC side of the inverter. This powered up the inverter.
- Double check that the inverter status LED went to flashing red (not producing AC) after about 5 minutes. Since these are grid-tie inverters, they will not produce AC if they don’t sense an existing AC signal on the grid itself.
- Center/torque the panel to the rails using renusol connectors
We used WEEB-CCR grounding washers for the hardware between the first and second panels and also between the third and fourth panels. Here’s what a WEEB-CCR looks like:
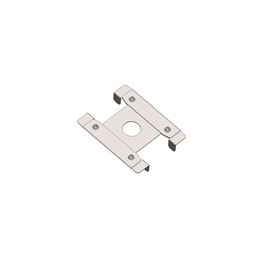 These sit right on the top of the rail between the rail itself and whatever hardware is being mounted on it. When torqued to spec, four sharpened nubs on each end of the WEEB dig into the mounted hardware on one side and the rail on the other side. This forms a solid ground connection that is impervious to weather related corrosion.
With our installation, 8 WEEB-CCRs were required to form a complete grounding solution: four for the inverters, and two sets of two between panels.
By 4PM, we were done!
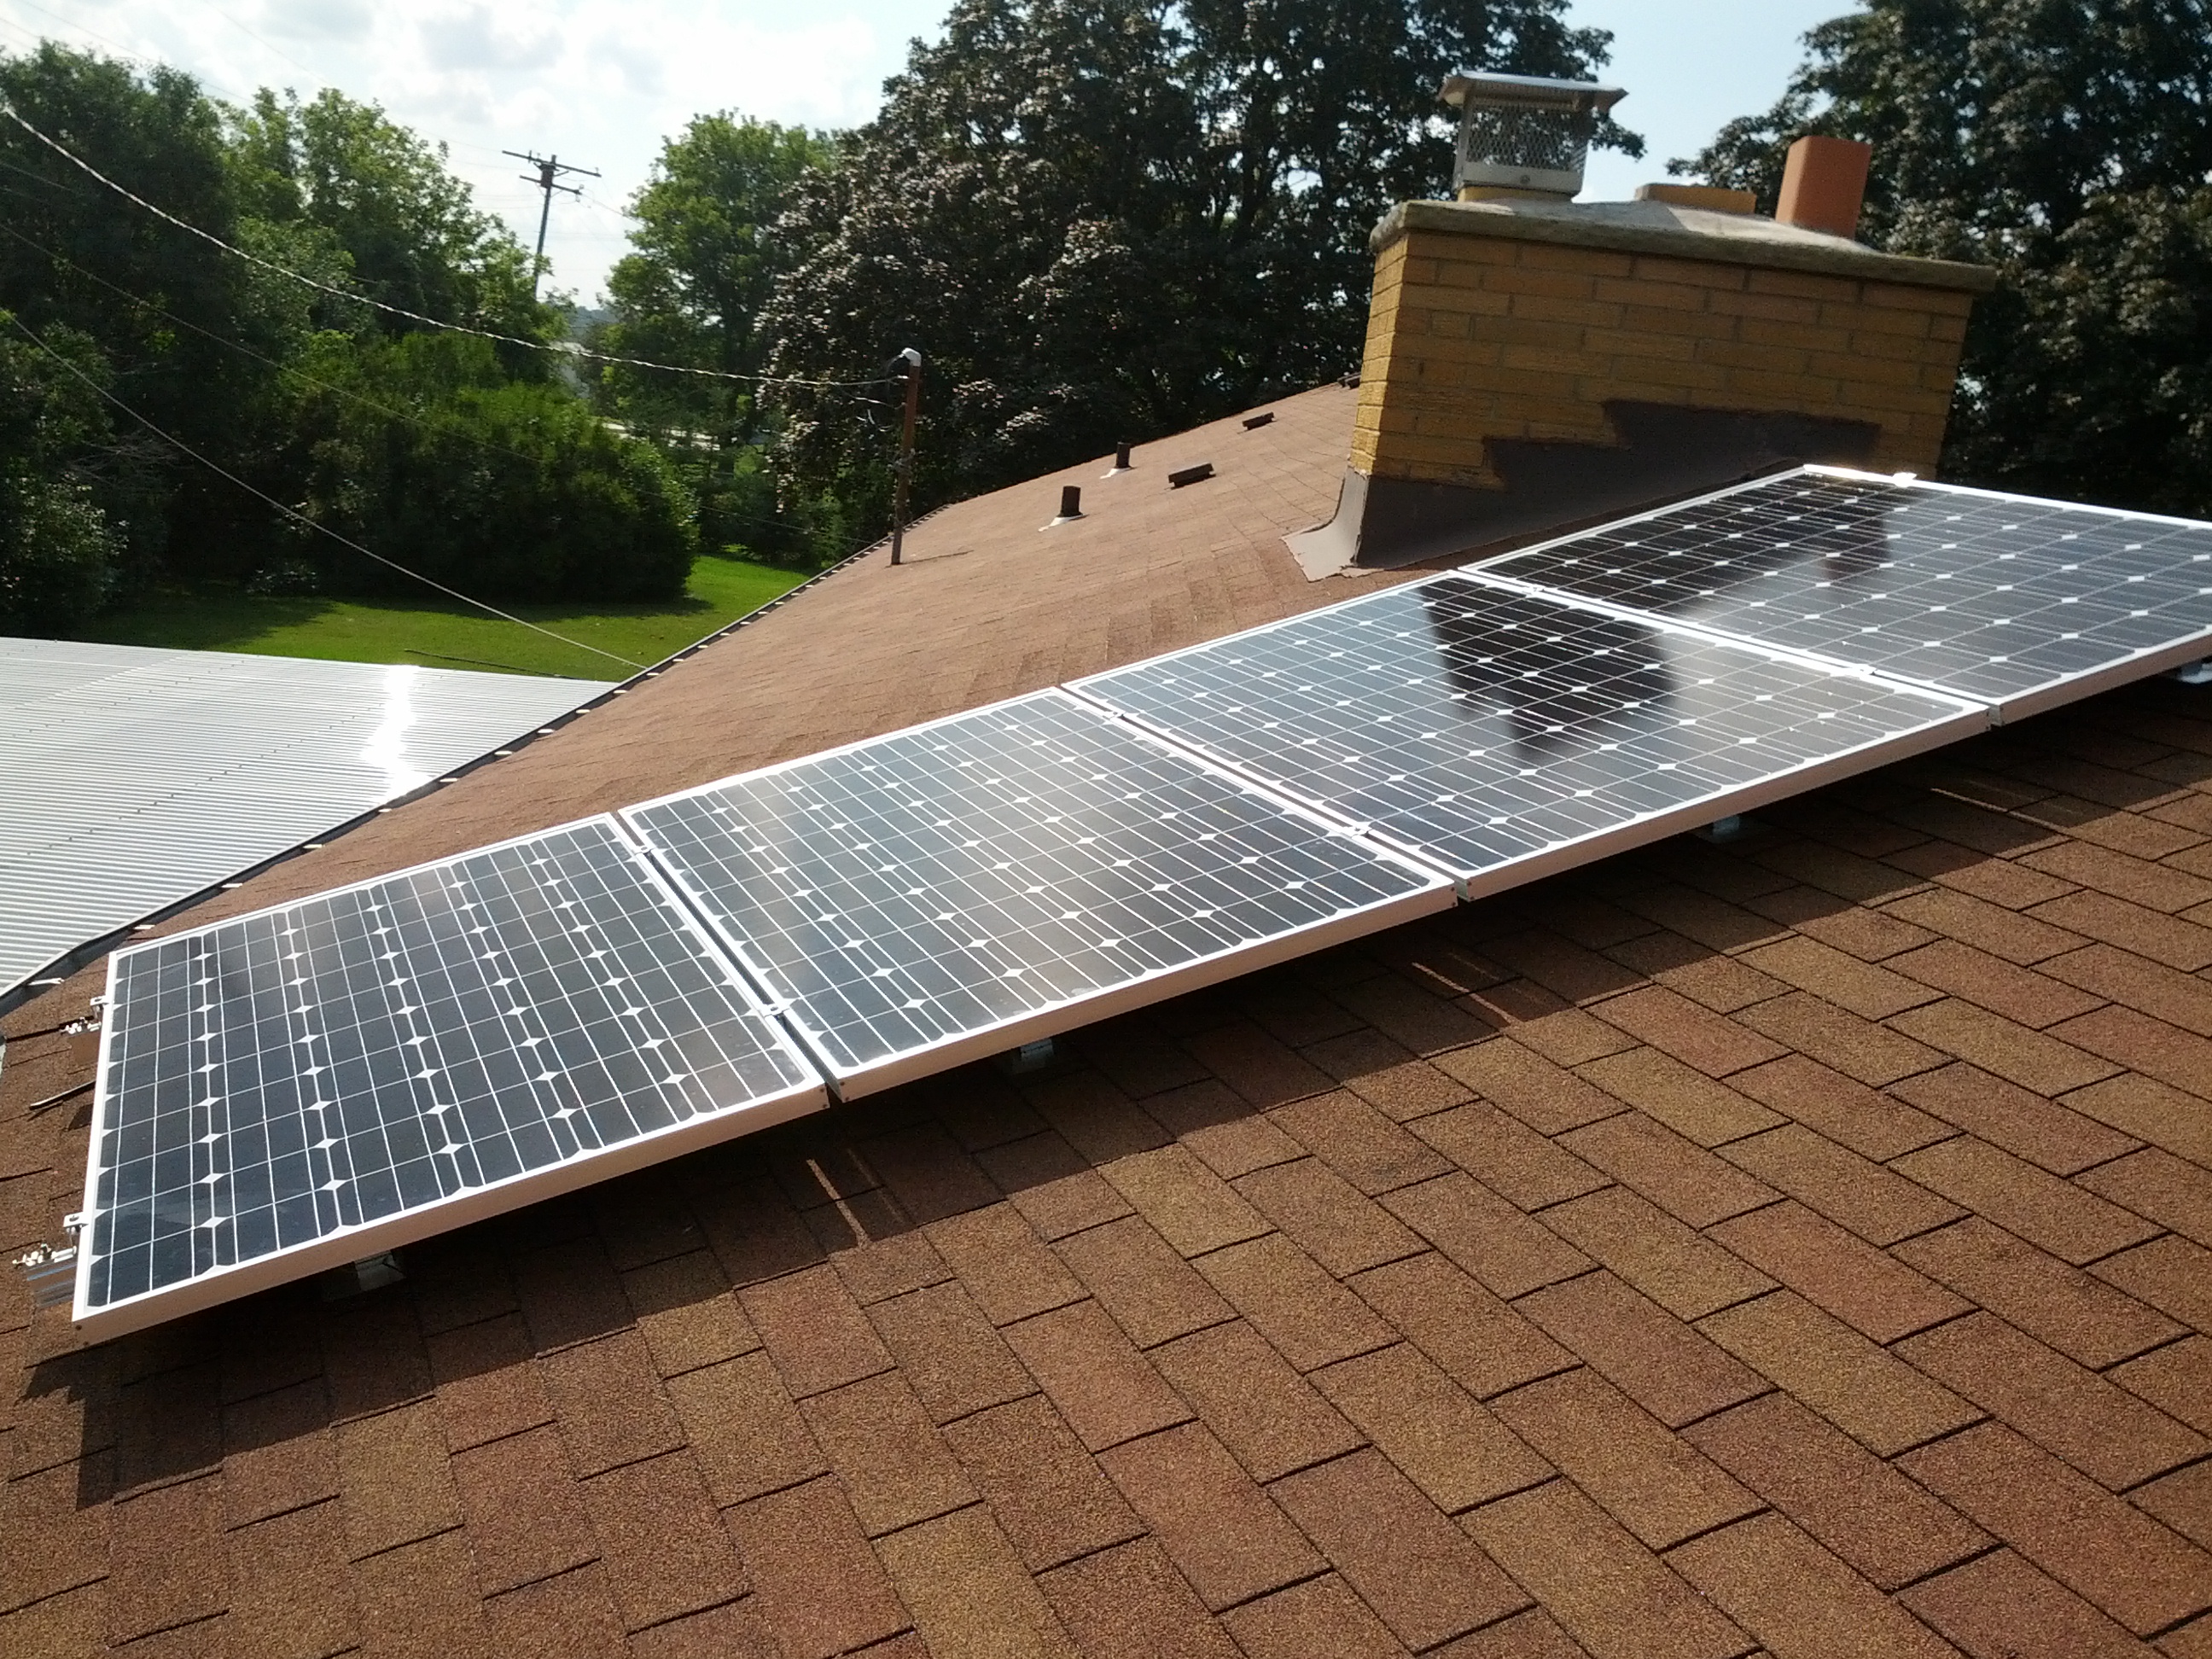
 At this point, the 1KW installation is almost complete! Our final task will be to connect up the AC side to the meter. Next up, my contractor will be in to complete this in the following order.
- Install a disconnect switch by the meter
- Run conduit up into the attic and connect it to a 6×6 junction box that is itself connected to the horizontal conduit run I did earlier. This box will contain the CTs for my TED5000 energy monitor and allow me to monitor electric production from the array.
- Mount a junction box on the roof near the array. The one we will use will actually be flashed into the roof itself.
- terminate the engage trunk cable on the west rail using a weatherproof junction box, then run 1/2″ EMT between it and the roof mounted box.
- pull #10 wire from the disconnect to the roof box and connect up.
Plans are to complete this on Tuesday, 8/13 and Wednesday 8/14. When finished, we will be ready for inspection/commissioning! Stay tuned!