
The weather was nice and cool last Sunday; perfect for working above the garage, so I installed the second Renusol rail. This one would be a bit trickier than the first because the rail itself landed between two rafters. To make sure the anchor points were sufficiently engineered to withstand roof wind/snow loading, 4×4 cross braces would
be used at each of the four anchor locations.
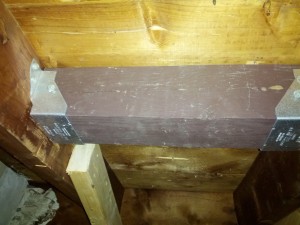
Here’s a shot of one. Simpson strong-tie SD structural screws were used on the hangers since swinging a hammer was virtually impossible in the confined space above the garage. These #10 screws are pretty awesome; With their self tapping ends, they go in with virtually no force at all. I’ll be using them everywhere in the future! Two lengths were needed: 1 -1/2 inch screws went into the face connections and 2 – 1/2 screws were used for the toe-in slots.
On the top of the roof, I first marked 40″ off from the middle of the right side top and bottom bracket mounts (40″ is about 1000mm which is the on center distance between panel mounting holes) then made tape marks. Next, I once again used the rail itself as a giant straight edge to line up the other two mount points. Then, I measured down from the top of the shingle directly above each mark to determine the mounting location. This ended up being 1 – 3/4″ to make the edge of the flashing about 1/4″ above the edge of the shingle underneath it.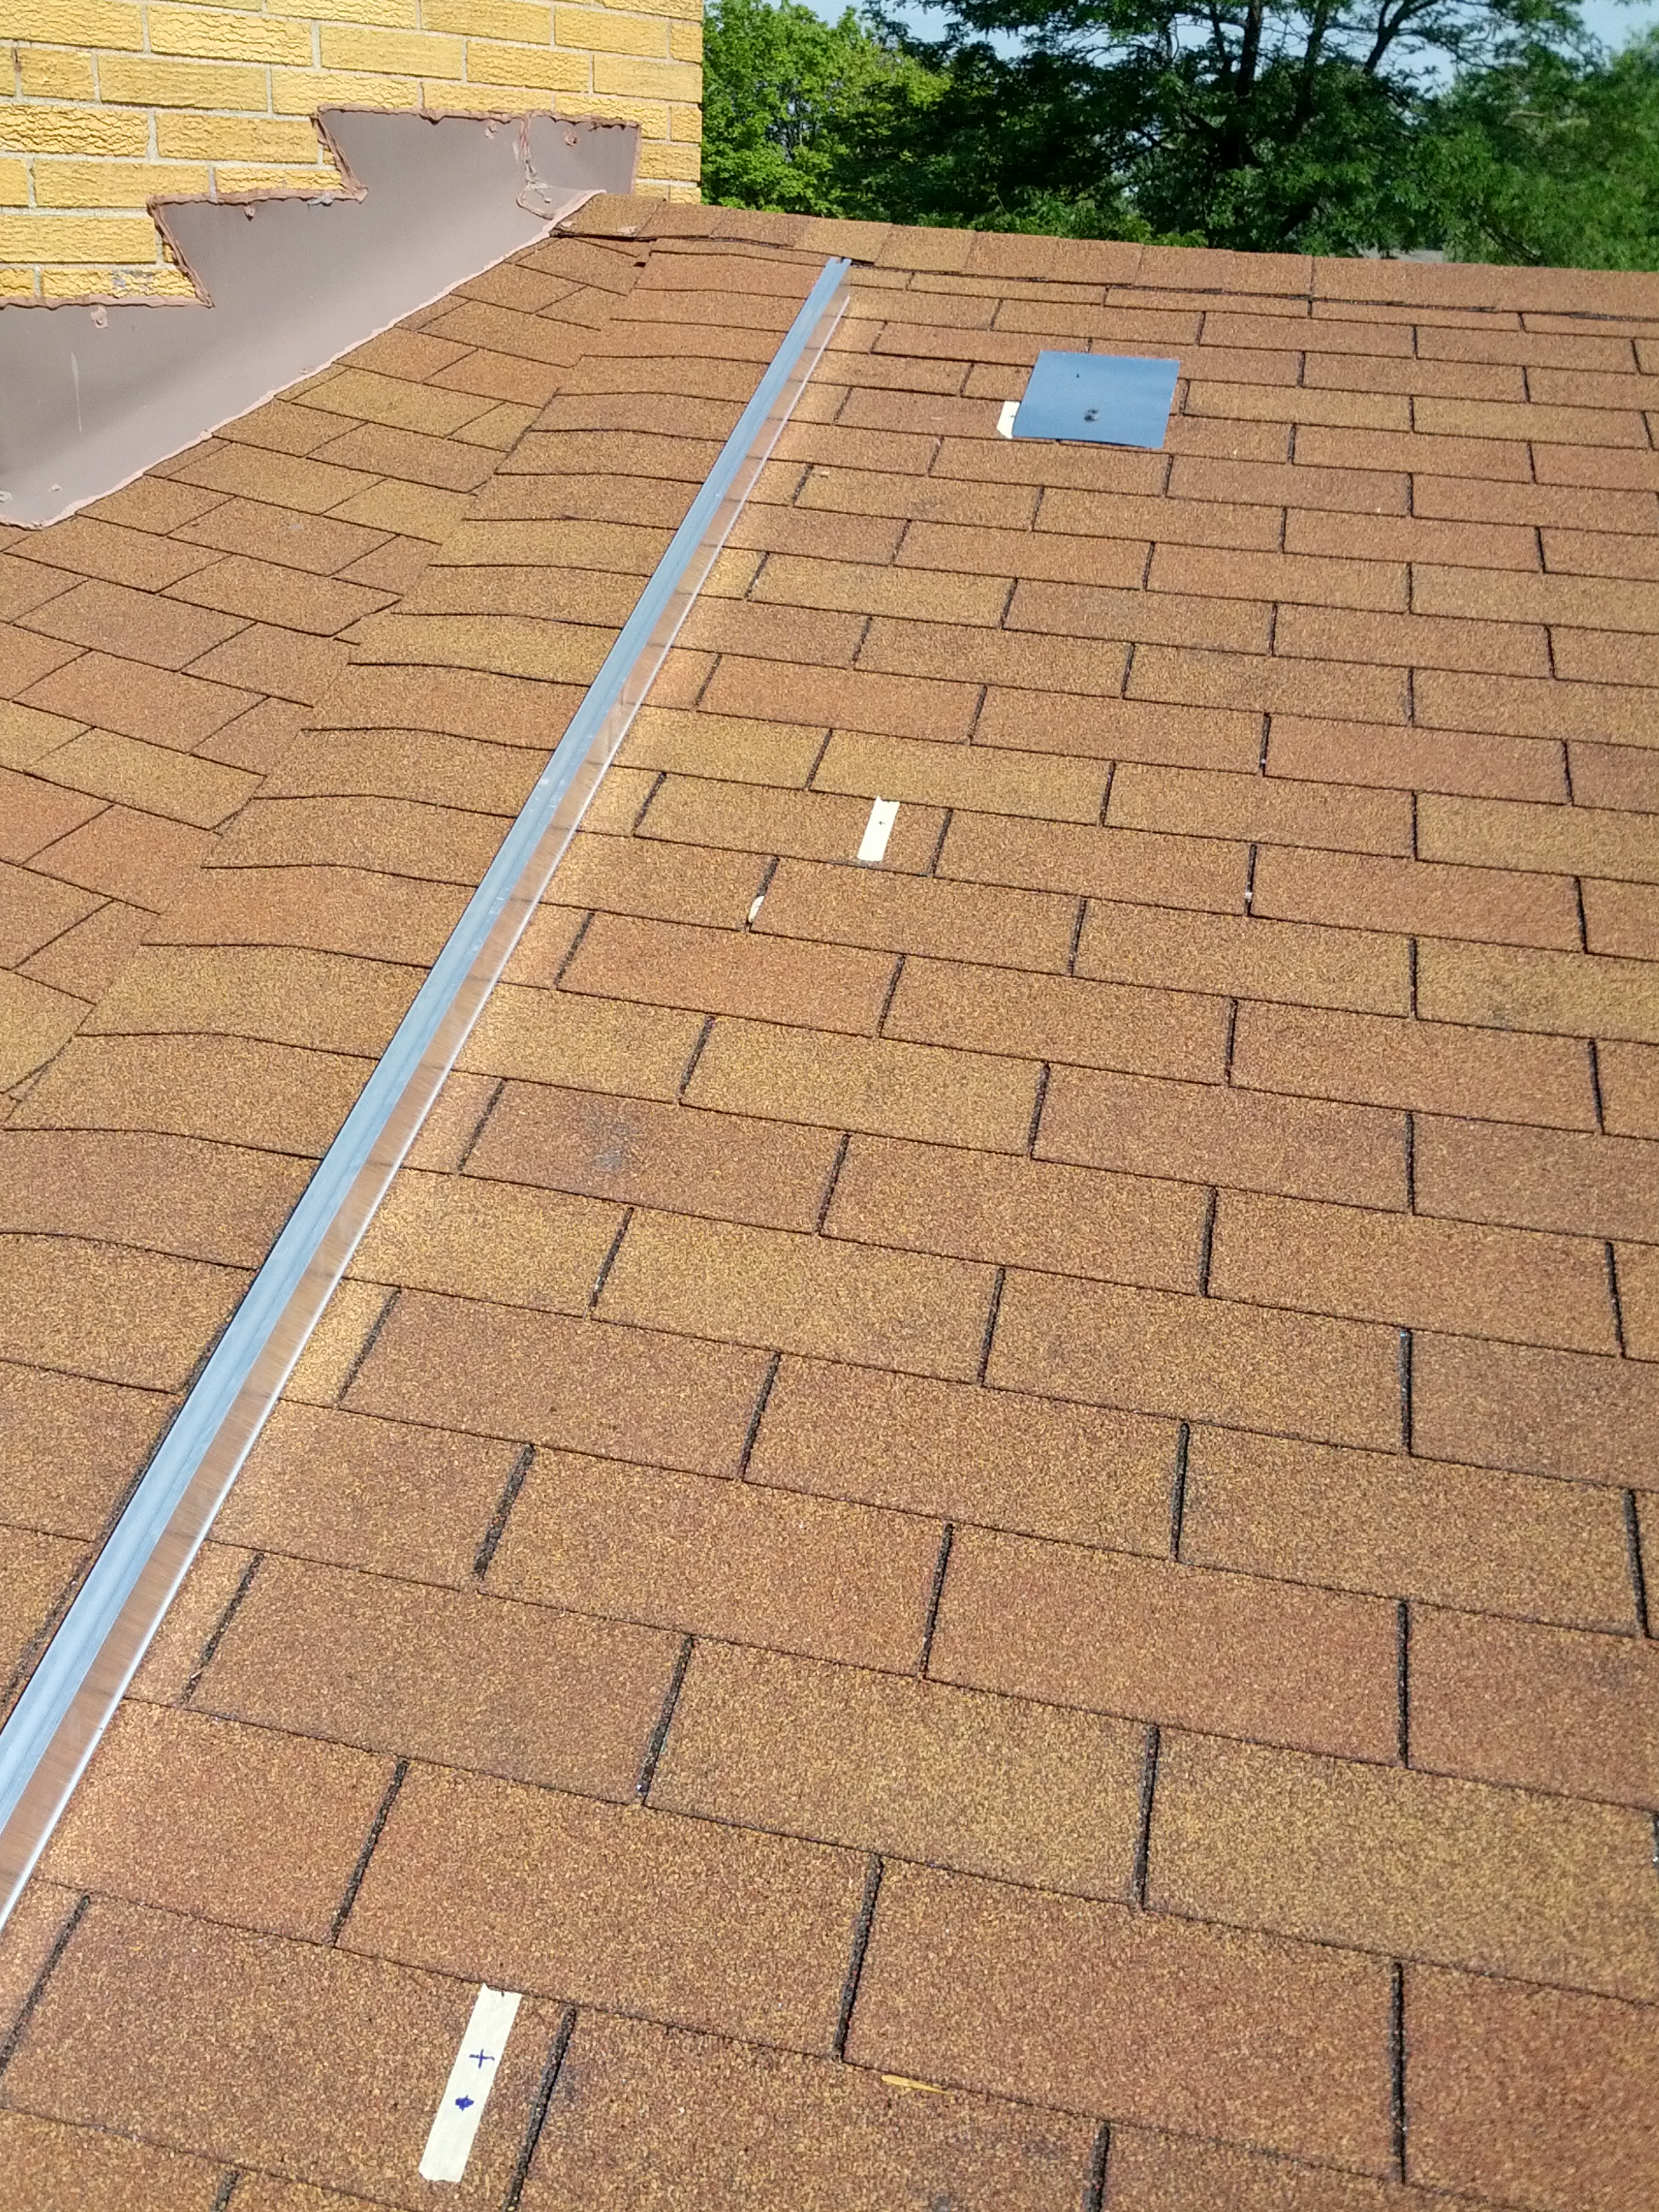
In the photo above, you can see the flashing piece itself which illustrates the 1 – 3/4″ offset requirement.
Once marked, assembly proceeded pretty much identically for each mount point:
- drill a small pilot hole and insert a coat hanger
- locate the coat hanger below the roof and install the cross brace
- back on the roof, widen the pilot hole to 1/4″ and extend to 3″ depth, then position the Ecofasten flashing.
- Fill the 1/4″ pilot hole with roofing mastic and position the sealing plate and the “L” bracket.
- Ratchet down a SPAX 3/8 x 5″ HCR lag (HCR is their high corrosion resistant coating) but leave loose.
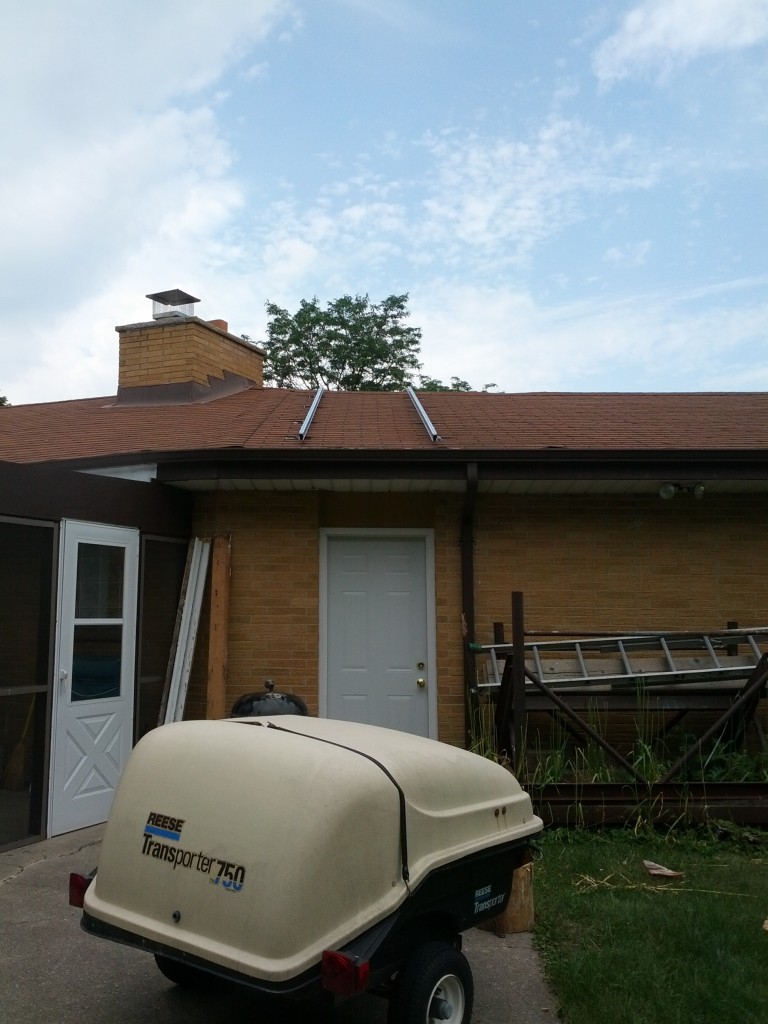
Finally, position the rail on the L-brackets, double check that it is parallel to the right side rail, and torque to 140 inch/lbs. Finished!
Next up, my contractor and I do the following:
- wire up the second meter slot, install a disconnect and complete the conduit run from the disconnect to my horizontal run in the attic.
- Attach the roof mount junction box onto the roof itself and run conduit from there to the other end of my horizontal run in the attic