
A lot happened this week! The Pieper residental group electrician stopped by with a dual meter base on Thursday but it was the wrong size. Our meter comes in right next to a window so a single hub dual meter (which has the poco feed at the top center) won’t cut it. Instead, we need a dual hub version that can have the PoCo service entrance on the left side:
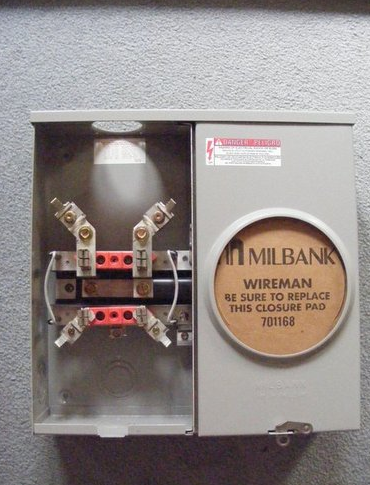
My contractor found this Milbank dual socket which should fit the bill nicely and they’ll be back out to install it soon.
Werner electric also dropped off the roof rack components so I got to work. Installation is pretty simple once you’ve determined the exact rafter location. Simply place one of the special EcoFasten GF1 flashings under the shingles so that the lag bolt sealing hole is lined up with a 1/4″ pilot hole (drilled into the rafter and pre-filled with roofing mastic), then install a 7/16 x 4″ lag bolt through the flashing, top sealer plate, and the lower slot in the Renusol “L” bracket. I wasn’t real pleased with the way that the specified lags gripped the rafter however, so I used 5″ SPAX lags instead.
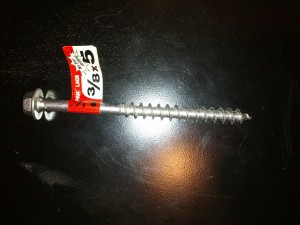
What’s nice about these lags is they way they self tap into the rafters without splitting. Since these are designed for decking ledger boards, they can also handle both horizontal and vertical sheering forces.
There’s no way these lags will be dislodged by just about anything WI weather can throw at us. They easily torqued to the specified 140 inch/lbs as well.
With the “L” brackets in place but still not torqued down, the Renusol VR rack was easily mounted then adjusted to vertical with a carpenter’s level. Then, I torqued the 4 lag bolts to specifications. Finally, I went up into the garage attic and carefully inspected rafter #14 to be sure I hit the center marks correctly. It was easy to see the mount positions because mastic had seeped out between the decking and the rafter itself when I torqued the lags. It was perfect; no splitting anywhere, and no lag bolts were sticking out either!
Finding the rafter is an interesting challenge though. What I did was drill a tiny hole in the middle of the roof at the position I previously calculated the rafter to be, then I stuck a piece of coat hanger through so I could find it from below. Turns out I was exactly 1 1/2″ off from the center of the rafter itself. Now with the exact rafter center mark scribed on a piece of masking tape attached to the roof, I used the Renusol rack as a huge straight edge and adjusted it to the same vertical as the underlying rafter with my carpenters level. Do this by first checking the vertical orientation of the rafter itself from below and then adjust the renusol “straight edge” to the same bubble offset from level (if any). With the rack adjusted, it was easy to mark the drill positions for the mounts. Don’t forget to fill in the exploratory hole with roofing mastic!
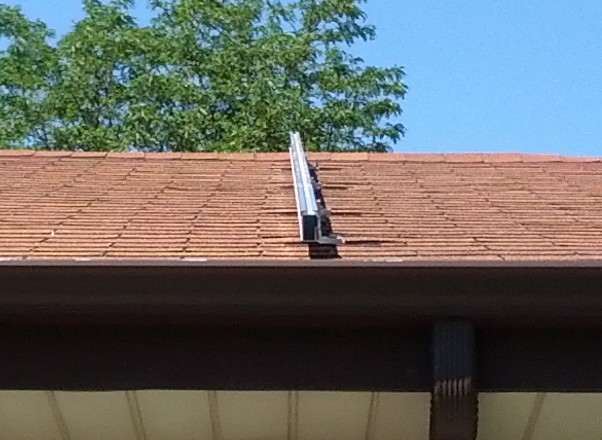
By the way, don’t be tempted to use the roof shingles themselves to line everything up. The picture below says it all!
Well that about wraps it up for the weekend. Next Saturday, I’ll install the left side rail. This will much more difficult because it doesn’t land directly on a rafter. Instead, I’ll need to install a 4×4 cross brace at each mount location then attach to those.
Coming up:
- The Pieper residential electrician will install the dual meter base, and my contractor will install the disconnect switch then bend a tricky bit of 3/4″ EMT between it and the horizontal attic run that I previously installed.
- He will also install the roof mounted junction box (which is actually flashed in) then bend another tricky bit of 3/4″ EMT between it and the other end of my horizontal EMT run.
- Pull #10 wiring, and mount panels/inverters once they arrive.
Hopefully I’ll be able to assist with all of these tasks, so stay tuned!